Openers · Byng
Photo-Eye Sensor Alignment or Replacement in Byng
The small light on one of the sensors near the floor has gone dark, or it flickers when someone walks past the track. The other one glows steadily.
Photo-Eye Sensor Alignment or Replacement
In plain words
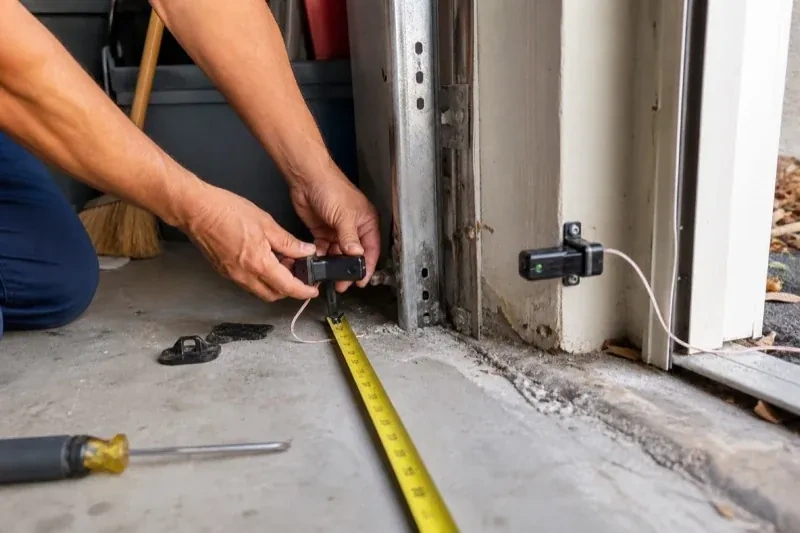
Most sensor visits end in alignment rather than new parts. The brackets that hold the sensors ride on the door track or the wall, and they get bumped by bins, tires and shovels until the two lenses no longer look at each other. The technician resets both sensors to the same height, loosens the wing nuts, aims the pair until the receiving light holds steady, tightens everything and secures the wire. Replacement is the answer when a lens is crazed, a housing is cracked, water has got inside or the indicator stays dark with good wiring, and then a pair matched to the opener is fitted.
How the visit goesSomeone backed the car in a little too far, a bin or a bicycle brushed the track, and since then the door starts to close and comes back up. One sensor now sits at a slightly different angle from the other.
Byng
How the visit goes
Making sure it is the sensors and not the door
A door that reverses on the way down has two possible reasons, and only one of them lives at the floor. If the door touches something, including a bottom seal frozen to the slab, a travel limit set slightly long or a stiff door in cold weather, the force setting sends it back up. That looks like a sensor fault from the driveway but calls for a different fix. The technician checks whether the door reverses before it moves or after it meets resistance, watches the sensor lights during the cycle, and tries the door with the beam deliberately shaded. The answer decides whether the work stays with the sensors or moves to the settings.
Dealing with the sun
A receiver that looks into the low sun is fixed by geometry. The simplest cure is to swap the two sensors side to side so the receiver looks away from the doorway light and the sending eye, which is not affected, takes the sunny position. Where the layout rules that out, a small hood or shade is fitted over the receiving lens, deep enough to shield it without narrowing the beam path. The wiring is extended or re-routed as needed and both lights are checked at the time of day the fault used to appear, or with a strong light aimed at the lens to stand in for the sun.
Two lights to glance at
You leave knowing what normal looks like at the floor. Most sensor pairs carry a small indicator on each side, often in different colours for sender and receiver, though some older pairs light only the receiver; the model's own chart tells you what steady and flickering mean. A dark or flickering light on the receiving side means the beam has been lost, usually because a bracket was bumped or something is in the path, and two dark lights mean the pair has lost power along the wire. A glance at those lights before calling anyone tells you most of what the technician would look at first, and often the fix is moving whatever is leaning on the bracket.
Photo-Eye Sensor Alignment or Replacement
In the van
- Wing nuts and carriage bolts
- Two-conductor low-voltage wire
- Track-mount sensor brackets
- Wire connectors
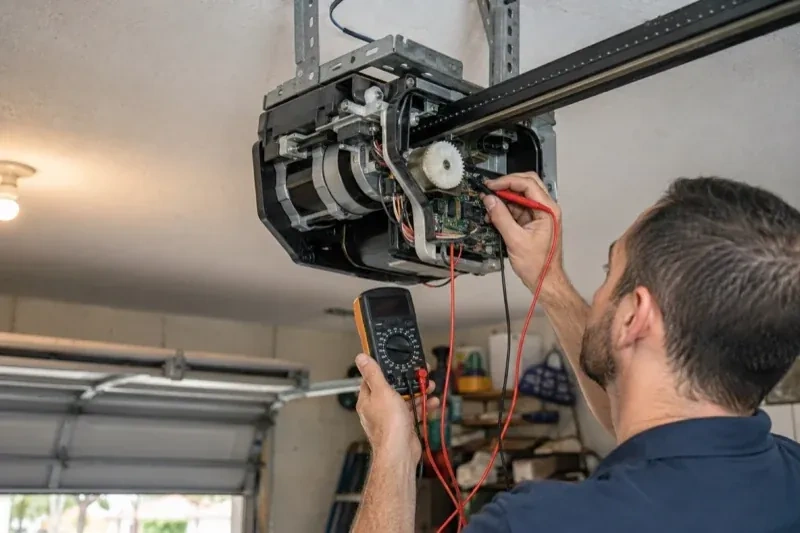
- Multimeter
What affects the quote
Same fees day, night or weekend
1Alignment or replacement
Cleaning, re-aiming and refastening the existing pair is the smaller job. Fitting a new matched sending and receiving pair is the larger one, and the diagnosis at the door decides which applies before the quote is settled.
2Length and route of the wire run
A damaged section near a sensor is a short repair. A fresh run from the motor to both sides of the doorway takes longer, more so where the wire is buried in a finished ceiling.
3Door-side findings
A balance problem, a stiff roller or a bottom seal that needs replacing sometimes shows up during testing. Those belong to their own service and are noted and quoted separately rather than hidden in the sensor work.
Photo-Eye Sensor Alignment or Replacement: questions
Do both sensors get replaced together?
Yes. The sending and receiving sensors are made and sold as a matched pair for a given opener family, and the head unit expects both to be from the same generation. Fitting a pair also means both lenses, both indicators and both mounting points are fresh at the same time, so the alignment holds and the next check is simpler. A single sensor from an unrelated kit is where mystery faults come from.
How long does a sensor visit take?
Alignment, cleaning and a bracket adjustment are done inside an hour on most doors, including the two tests at the end. Replacing the pair adds a little for wiring and setup. Re-running the wire all the way from the motor to both sensors is the part that stretches a visit, especially where the wire is behind a finished ceiling or the garage is full. Having the floor by the door clear before arrival helps.
How do I test the sensors each month?
Start the door closing and, while it is moving, swing a broom handle through the beam low across the opening; the door should halt and travel back up. Next, put a 2x4 flat beneath the door's centre and run the door onto it; it should back off as soon as it touches. If either test fails, close the door first if you can, use it by hand with the manual release, and book a visit; do not release it if it feels heavy.
Openers & Access
- Chain-Drive Opener RepairThe door closes, touches the floor, then climbs straight back up as if it hit something.
- Belt-Drive Opener RepairIt is minus twenty in the detached garage and the door climbs in jerks, the belt stiff as a board.
- Garage Door Opener ReplacementThe bedroom above the garage shakes every morning at six when the chain drive fires up.
Photo-Eye Sensor Alignment or Replacement near you
Whatever brought you to this page from Byng, a door that stopped, a noise that started or a plan for a new door, the services below explain what we do about it. Repairs and maintenance, springs and hardware, openers and remotes, and new door installation are each covered in detail.