Repairs · Cayuga
Garage Door Perimeter Weatherstrip in Cayuga
After a windy night there is a fine ridge of snow on the garage floor along one side of the door, and another across the top step. The door was shut the whole time; the snow came in around it.
Garage Door Perimeter Weatherstrip
In plain words
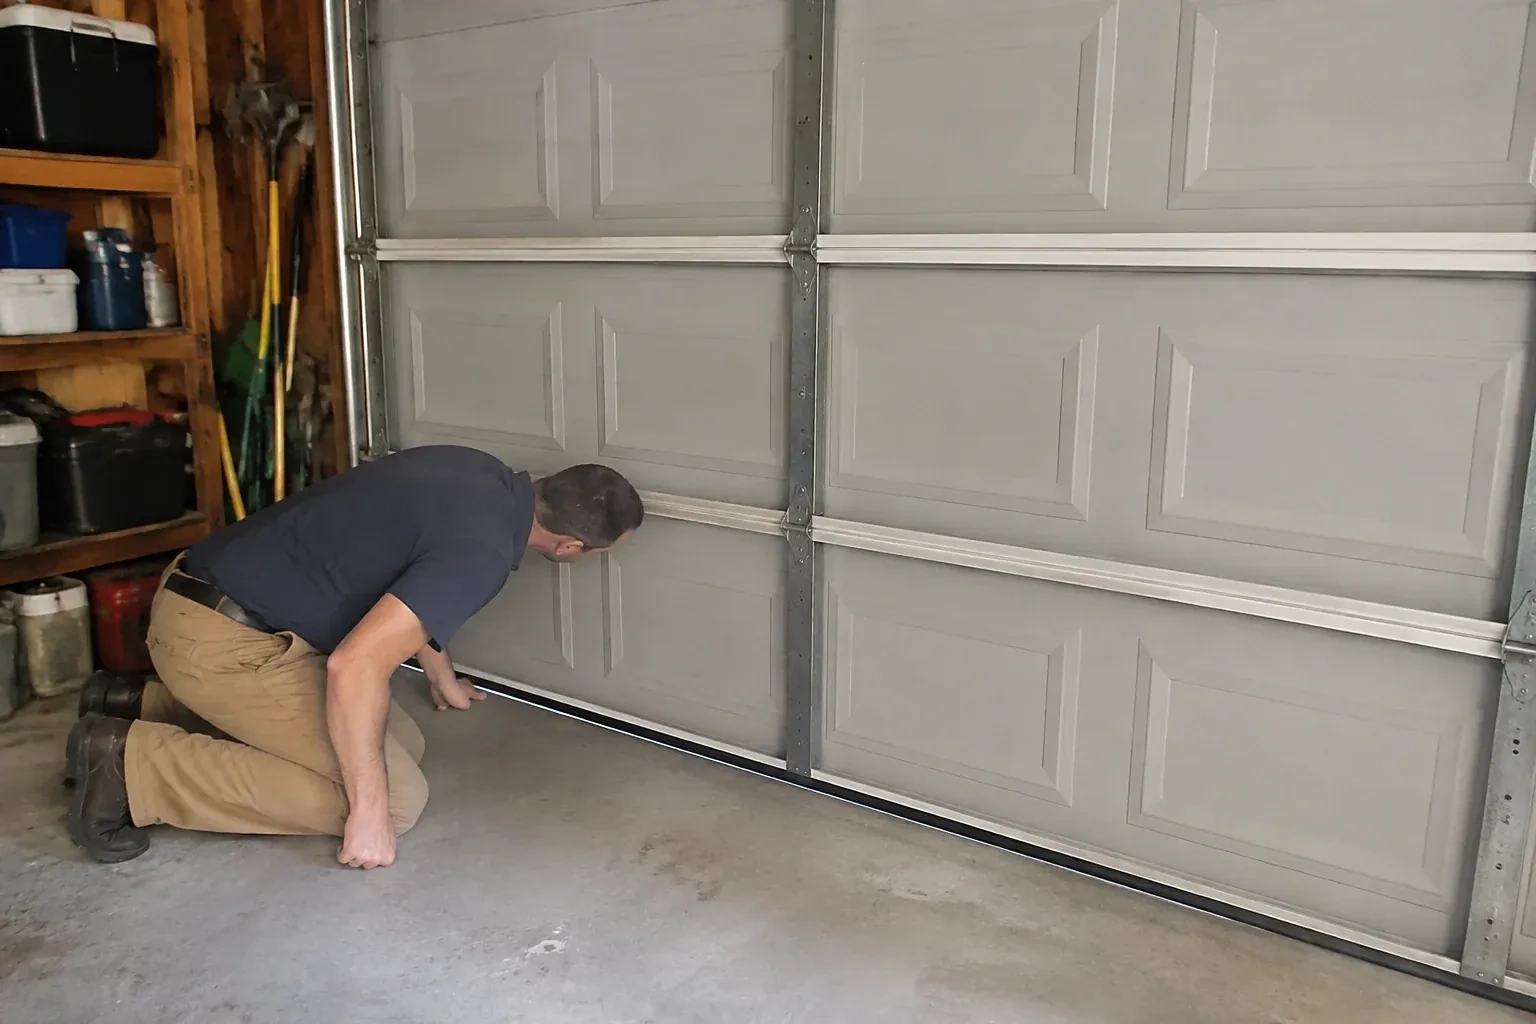
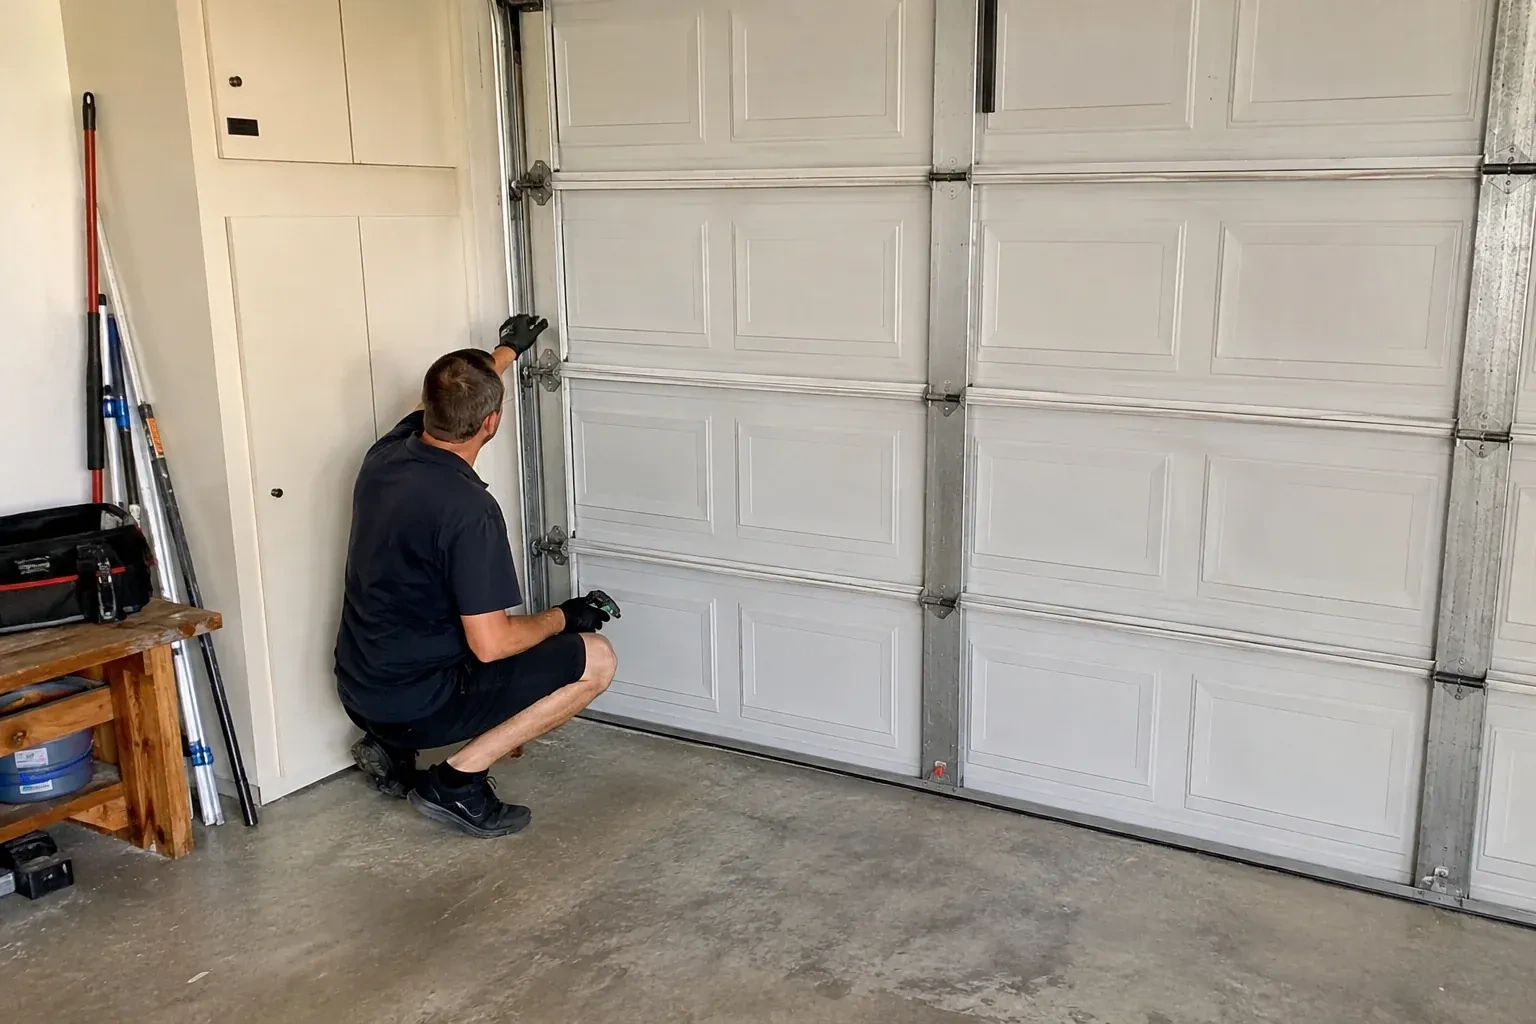
A perimeter seal is only as good as the door it meets, so a technician looks at the door before the seal. If one side shows daylight and the other is tight, the strip may be fine and the door may have drifted: worn rollers, a track bracket that has moved, a top section that bows away from the header. Setting that right first means the new fin can be positioned with the same light contact on every side. Where the door is already square, the seal is fitted straight to it. Either way the result is a door that closes against a continuous line of contact.
How the visit goesThe bedroom over the garage is always the cold room, and standing in the garage you can feel why: a steady draft along the door edges that moves the cobwebs on the wall. The seal around the opening has flattened to nothing.
Cayuga
How the visit goes
Probing the jambs and header
The strip is only as secure as the wood behind it, so the jambs are probed with an awl along their length and especially the lowest part, where slush and salt sit all winter. Soft, dark or crumbling wood is marked for repair. The header is checked for sag and for gaps opening between it and the top section. Where the jambs are clad in aluminum or vinyl, the technician looks for what the cladding hides and for where the seal can be fastened through to solid material. This step often adds a splice of new lumber or PVC trim to the job, and it is what makes the new seal stay put.
Fitting the sides and closing the corners
Each side length is cut to run from tight under the header piece down to the floor, with a little spare to trim in place. It is set with the same light contact as the header and fastened top to bottom. At the top corner, the side fin tucks under the header fin so they overlap, leaving no square hole for drafts or mice. At the floor the side is trimmed to meet the bottom seal on the door, so the seal is continuous around three sides and hands off to the fourth. Both sides are done the same way, checking the door edge gap as they go.
Slush, salt and the bottom of the jambs
The lowest part of each jamb is where the weather does its work, so a little attention there protects the whole seal. Push slush away from the jambs when clearing the driveway rather than piling it against them, and rinse the salt off the bottom of the stop on a mild day. Keep the joint between the jamb and the sill caulked so meltwater runs off the face instead of behind it. If a section of jamb was replaced, keep its paint or PVC surface intact. A dry jamb base holds its fasteners, and fasteners that hold keep the seal tight.
Garage Door Perimeter Weatherstrip
In the van
- Tape measure, level and square
- Flat bar, hammer and nail set
- Utility knife and mitre saw
- Aluminum retainer and rubber insert
- Exterior screws and weatherproof staples
What affects the quote
Same fees day, night or weekend
1Doing the bottom seal at the same time
When the bottom seal on the door is also worn, renewing it during the same visit is offered as a separate line and saves the cost of a second call.
2Partial replacement
Replacing one damaged length rather than all three is a smaller job, provided the remaining pieces are still soft and the profile can be matched.
3Condition of the jambs
Soft or rotten wood at the base of a jamb is cut out and spliced with new lumber or PVC trim before the seal goes on, and that repair is quoted as its own item.
Garage Door Perimeter Weatherstrip: questions
How long does the visit take?
A straightforward fin replacement on a single door is often a matter of an hour or two once the technician is set up; a double door with a one-piece stop takes longer, and any jamb repair adds to it. Most of the time goes into checking the door, preparing the surface and setting the contact carefully, since those are what make the seal last. You are given a sense of the timing when the work is confirmed.
Can you replace just one side or only the top piece?
Yes, a single damaged length can be replaced when the rest is sound and still soft; the new piece is matched to the existing profile and colour and its corner is overlapped with the neighbouring fin. When the whole set is the same age and the others are hardening too, replacing all three at once gives an even seal and saves a second visit, and the technician will say which applies.
My door was replaced last year. Does the perimeter seal need doing too?
Often, yes. A new door is sometimes fitted against the original wood stop and its old fin, and the new door may sit slightly differently in the opening, so the old seal no longer meets it. If daylight shows at the edges or the fin is hard and cracked, a new seal set against the new door completes the installation and matches the fresh look of the door.
Repair & Maintenance
- Garage Door Tune-UpSince the first cold snap the door has been sluggish.
- Off-Track Garage Door ResetThe morning after a thaw the opener groaned, the door stayed stuck to the icy floor for a second…
- Garage Door Panel ReplacementAfter an overnight freeze the door stuck to the slab, the opener strained, and something gave.
Garage Door Perimeter Weatherstrip near you
Most calls from Cayuga start with a symptom rather than a part name: a bang, a door stuck halfway, a remote that only works from the driveway. Below are the services behind those symptoms, from spring and cable replacement to opener repair, panel work and complete door installation.